Dive back into the basics of drawing with our step by step guides and tips and tricks for pencils and pastels.
Drawing (Pencils & Pastels)


OUR FAVOURITES
-
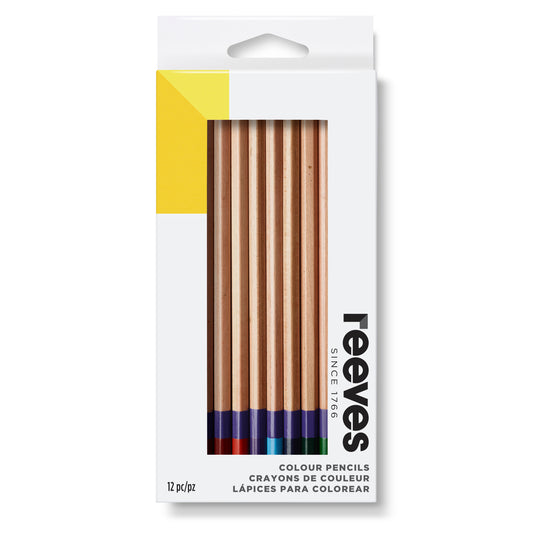
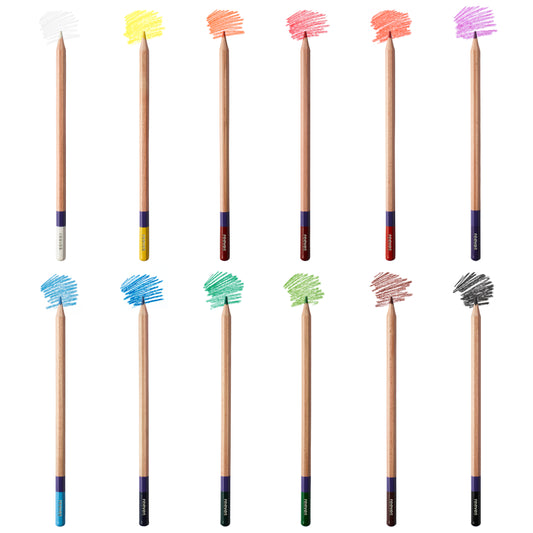
Colour Pencil Set - 12 assorted shades
Regular price £0.00 GBPRegular priceUnit price per -
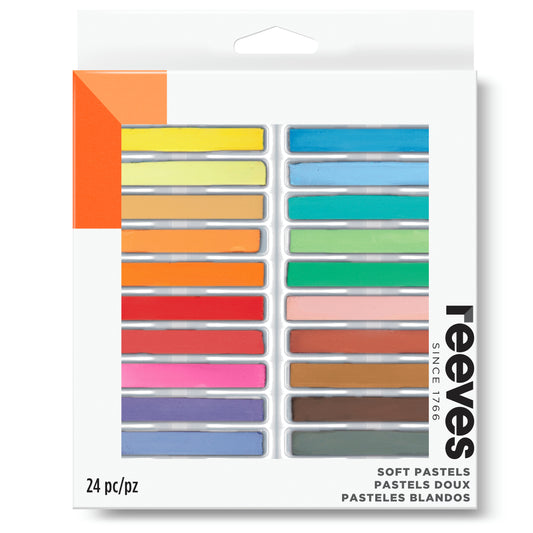
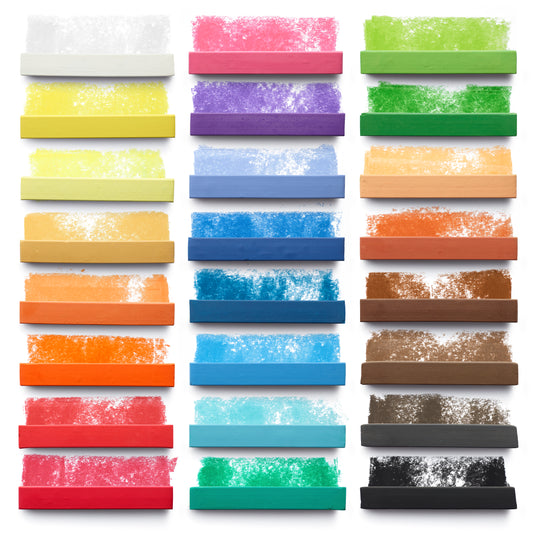
Soft Pastel Colour Set – 24 Assorted Colours
Regular price £15.00 GBPRegular priceUnit price per -
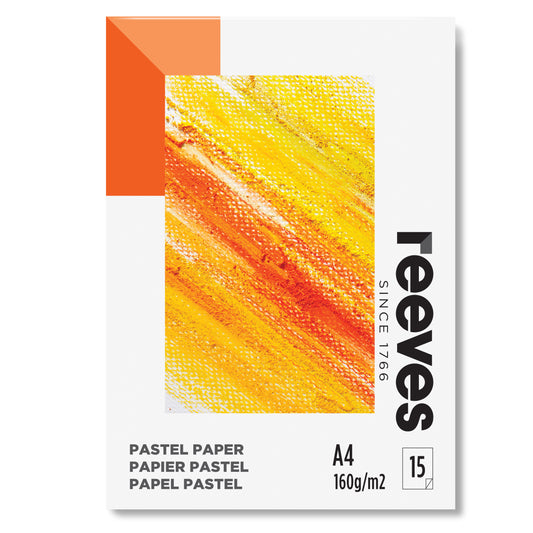
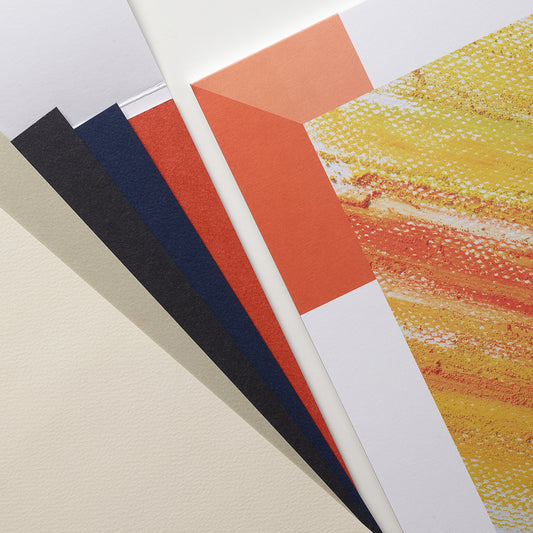
Pastel Paper Pad A4 - 5 Colours - 15 Sheets
Regular price £0.00 GBPRegular priceUnit price per -
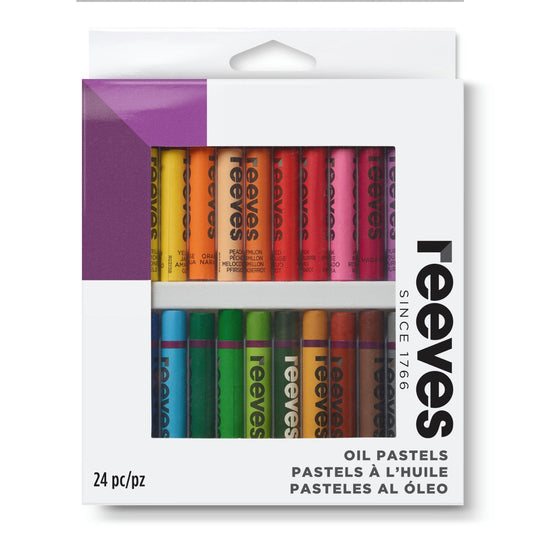
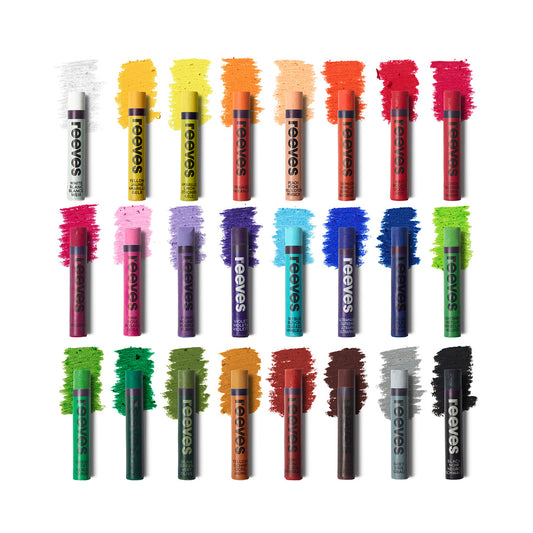
Oil Pastel Colour Set – 24 Assorted Colours
Regular price £15.00 GBPRegular priceUnit price per