Painting trees is a fantastic way to learn new watercolour techniques - or brush up on old ones. Once you've mastered watercolour flowers, it’s time to learn how to paint trees. With a variety of leaves and effects, trees are the ultimate way of making impressive landscape showpieces.
Basic watercolour tree
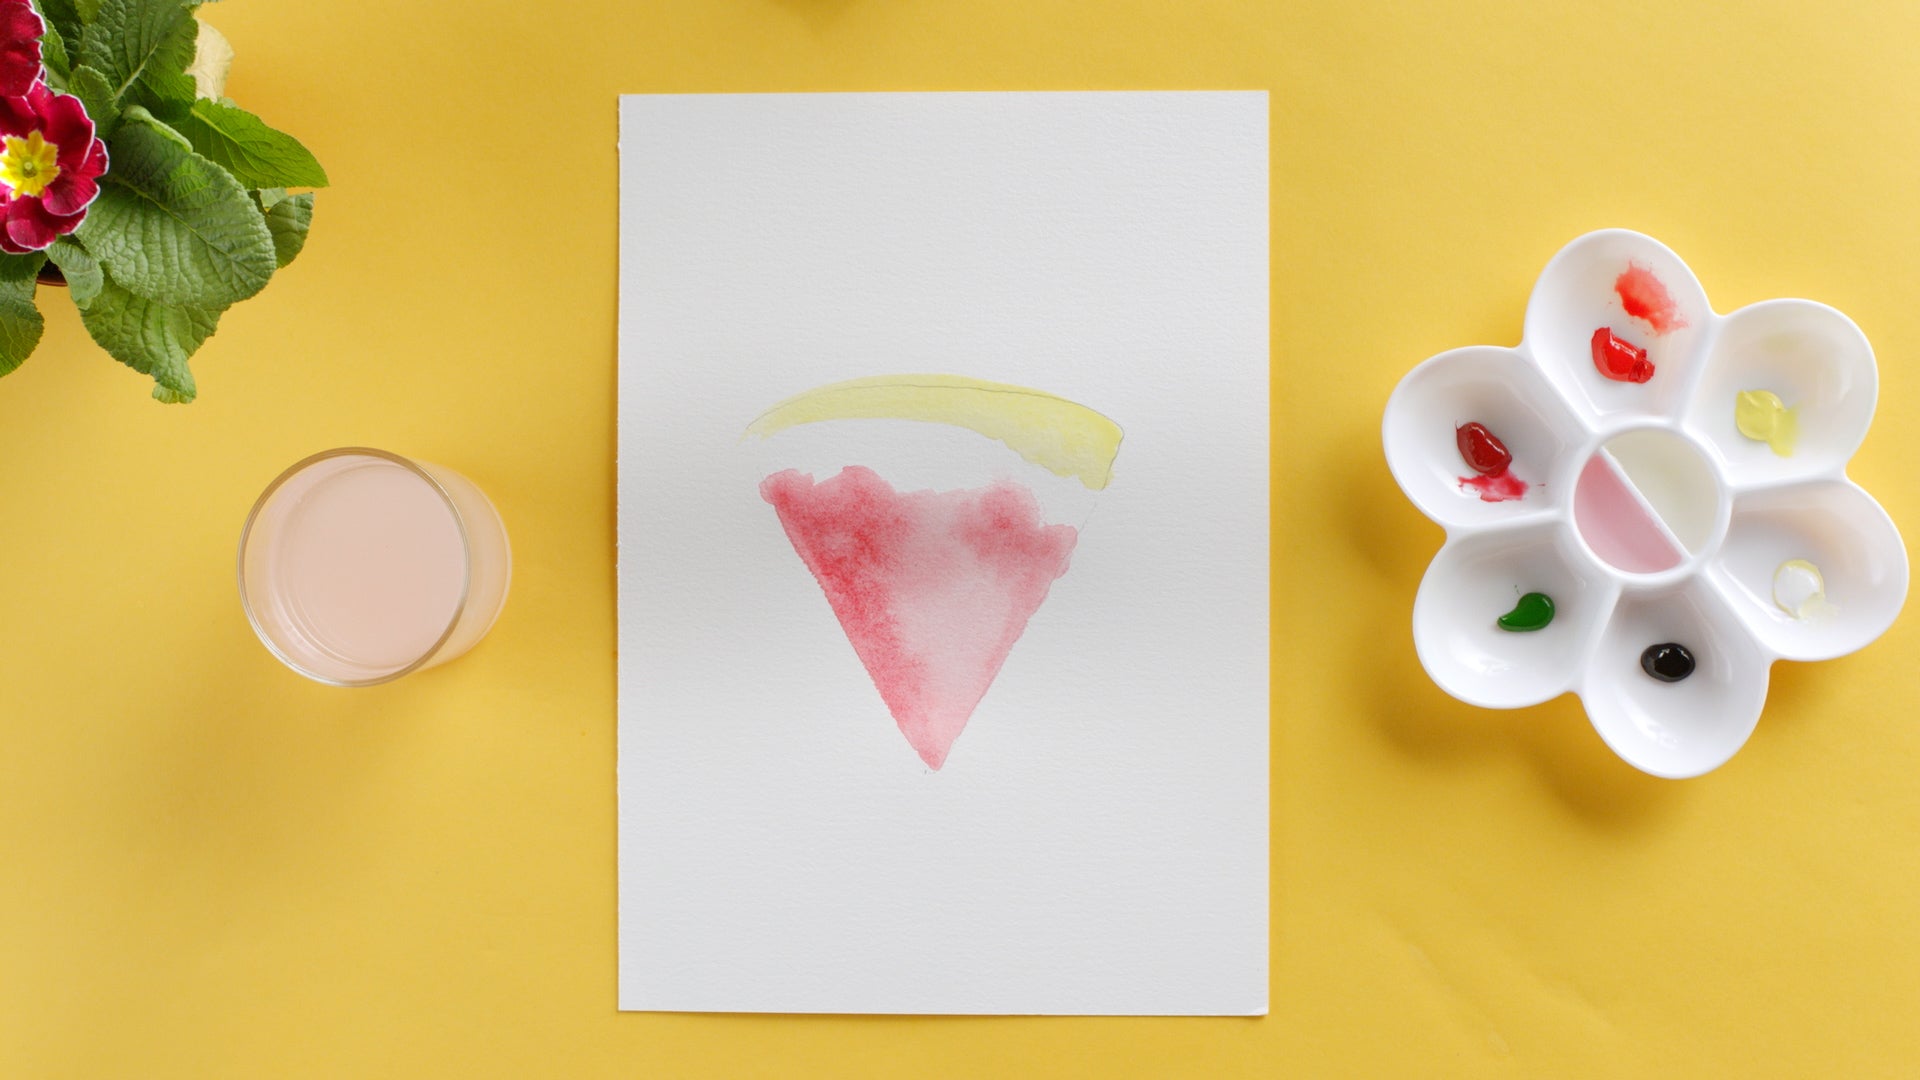
To paint a basic watercolour tree, start off by getting your colours ready. This is where the fun is, as you can choose from a range of colour shades to mix, blend, combine and fuse together to make beautiful tones that perfectly represent nature.
Whisk up some blues and yellows to produce striking shades of green - perfect for spring time. Or let your reds and greens crash together to reveal spectacular yellow tones ideal for an autumnal feel.
There are many different types of trees you can paint with watercolour but pine tress are a great place to start for beginners or artists who haven't had much practice with foliage.
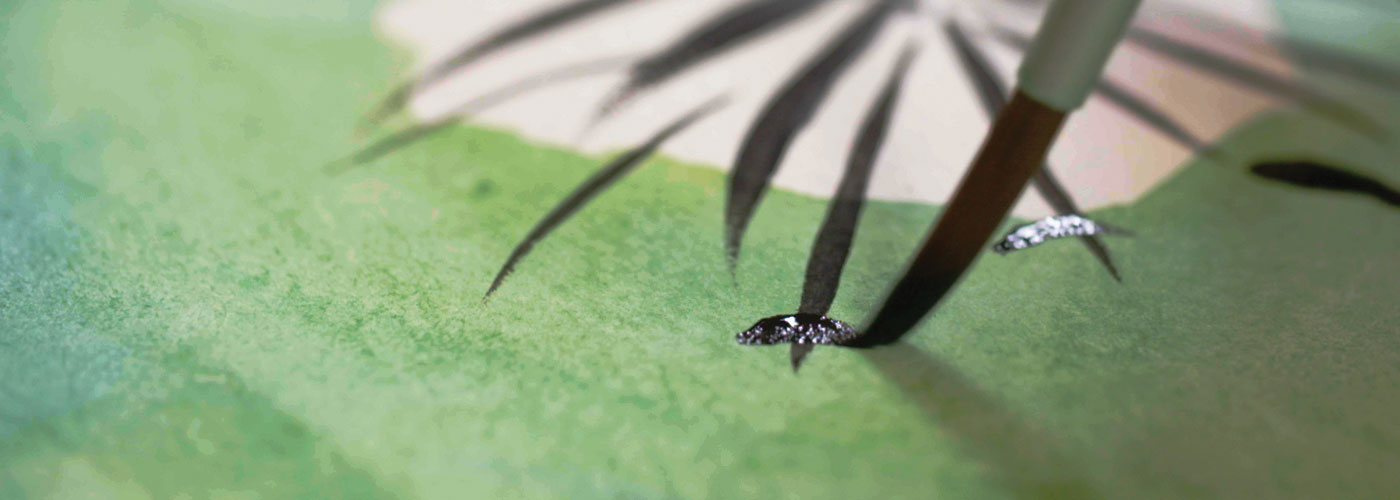
Once your colours are prepared, load your brush and begin by painting the top of the pine tree which begins with a short, thin line downwards. Next, it’s time to load your brush with a green of your choice and make branches by sweeping your brush from the top of the tree in a downward swoosh with a little flick of the wrist upwards as you approach the bottom. Repeat this all the way down until your tree comes to life. Once you have your lifelike pine tree, paint a dark line at the bottom for the trunk.
Once you have mastered how to paint watercolour pines trees, take on the challenge of oak trees, palm trees or even a dramatic weeping willow.
With practice you’ll develop your technique, skills and flair in no time!
Take your watercolour journey to the next level with superb strokes and fabulous lines and create picturesque scenes that you can display around your home or share with friends.